Replacing a Damaged Hook Strip
Hook strip installation instructions.
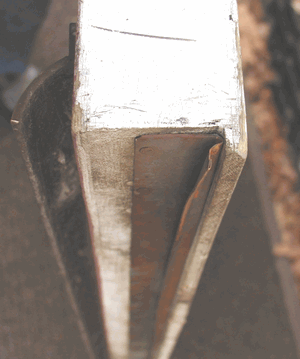
Shown here is a damaged hook strip.
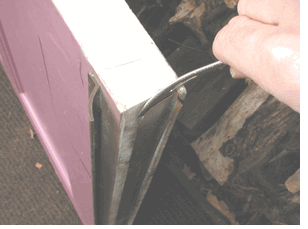
1) Carefully remove old weatherstrip.
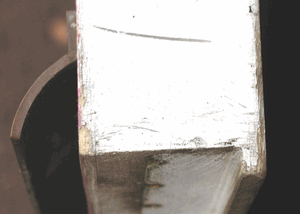
Shown here is the door rabbit with the weatherstrip removed.
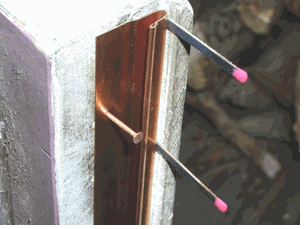
2) Cut hook strip slightly narrower than door. Space hook strip away from rabbit with matchstick or other spacer. Place first nail 1-1/4" away from end.
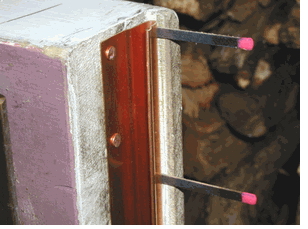
3) Place second nail about 1/4" from end.
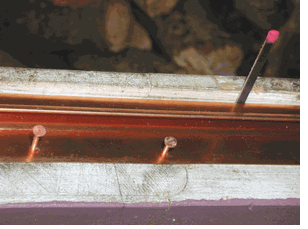
4) Continue nailing 1-1/2" to 2" apart. Set new matchsticks or other spacers as you go. Set nails well so that they are almost flush with the weatherstrip.
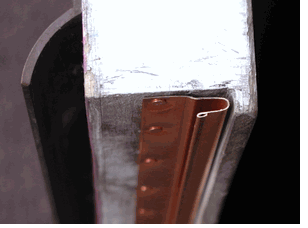
Finished repair.
